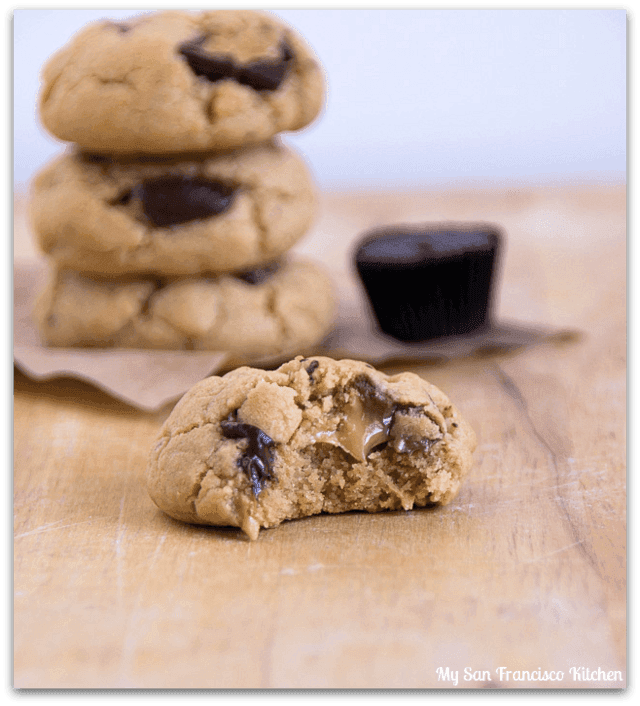
สาว ๆ คะคุกกี้เป็นขนมที่ไม่ว่ากินเมื่อไหร่ก็อร่อยเพลิน เผลอแป๊บเดียวหมดเสียแล้ว เราลองมาทำคุกกี้กินเองดีกว่า อร่อยฟินแบบไม่แพงเท่าซื้อเอา แถมปรับลดส่วนผสมได้ตามใจชอบ มาดูกันค่ะว่าจะทำอย่างไร

ส่วนผสม

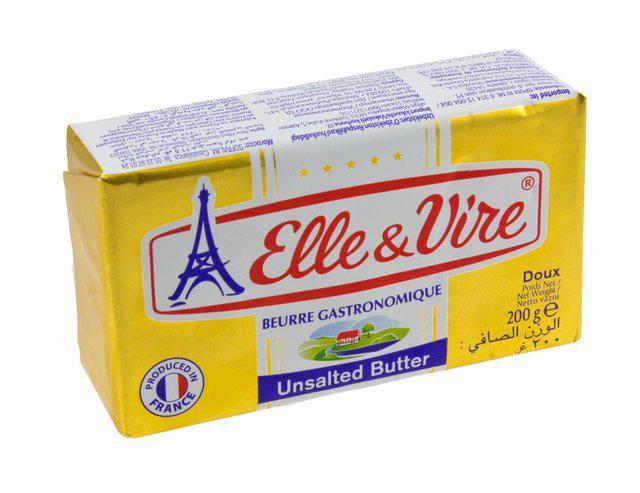
1. เนยจืด 1/4 ถ้วยตวง

รูปภาพ:https://images.heb.com/is/image/HEBGrocery/001133944

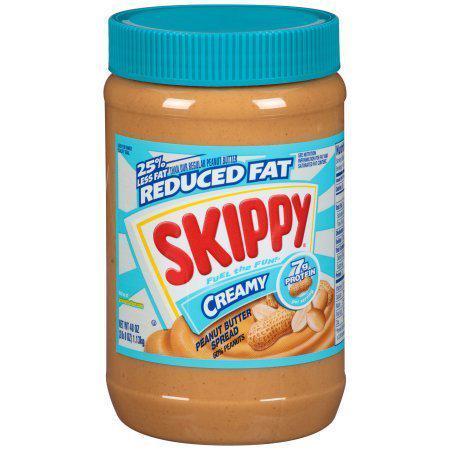
2. เนยถั่ว 1/2 ถ้วยตวง

รูปภาพ:https://i5.walmartimages.com/asr/73cc3192-f947-45bb-a0f2-d31ac325ad8c_1.40fa1512e18447c7462479295b415fef.jpeg?odnHeight=450&odnWidth=450&odnBg=FFFFFF

3. น้ำตาลทรายขาว 1/4 ถ้วยตวง

รูปภาพ:https://5.imimg.com/data5/PB/VC/MY-30771564/sugar-s-30-500x500.jpg

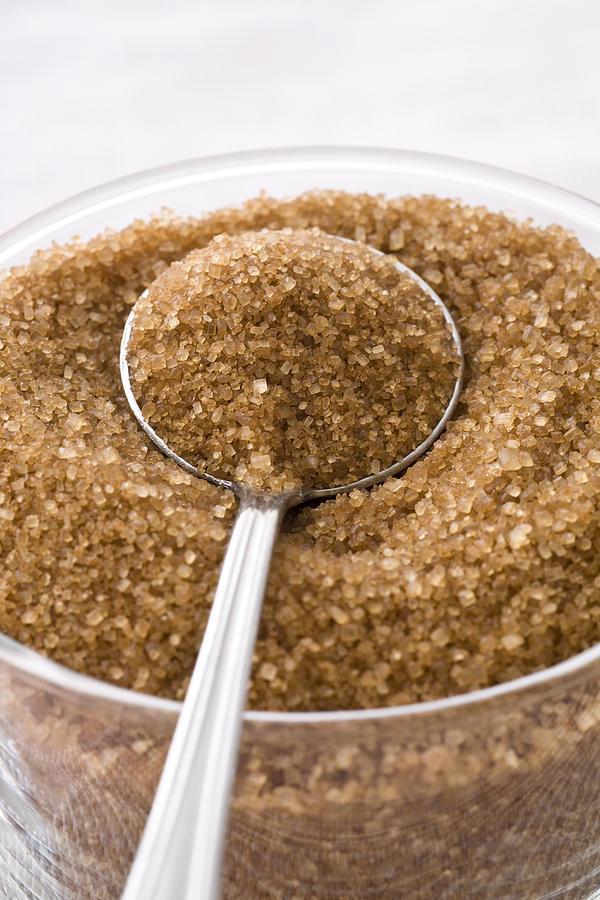
4. น้ำตาลทรายแดง 1/4 ถ้วยตวง

รูปภาพ:https://images.fineartamerica.com/images-medium-large/organic-raw-cane-sugar-frank-tschakert.jpg

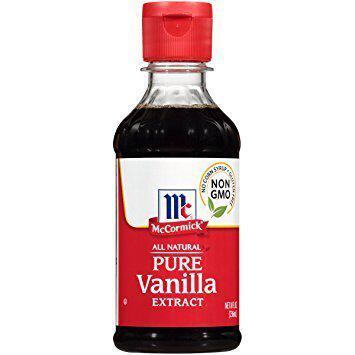
5. กลิ่นวานิลลา 1 ช้อนชา

รูปภาพ:https://images-na.ssl-images-amazon.com/images/I/81bTumlA5TL._SY355_.jpg

6. ไข่ไก่ 1 ฟอง

รูปภาพ:https://www.hoax-slayer.net/wp-content/uploads/2017/10/egg-windhield-robbery-warning-2017.jpg

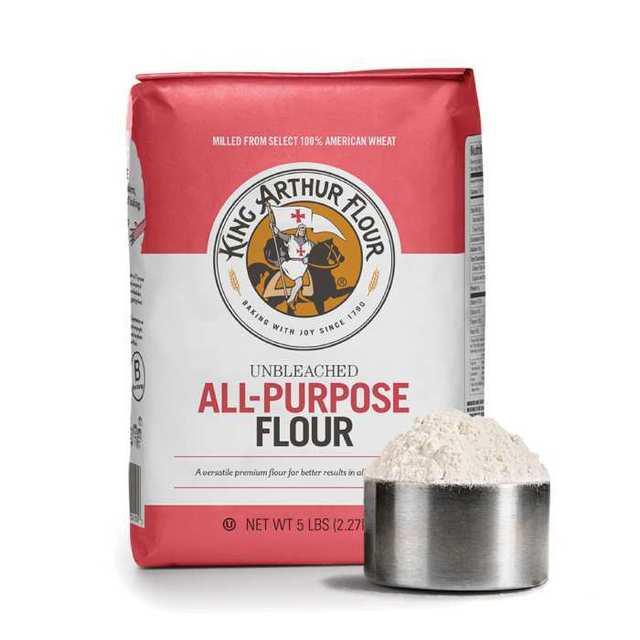
7. แป้งอเนกประสงค์ 3/4 ถ้วยตวง

รูปภาพ:https://www.hoax-slayer.net/wp-content/uploads/2017/10/egg-windhield-robbery-warning-2017.jpg

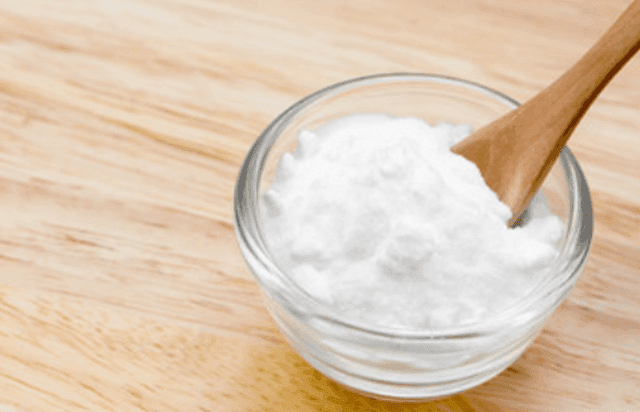
8. เบกกิ้งโซดา 1/2 ช้อนชา

รูปภาพ:https://www.hoax-slayer.net/wp-content/uploads/2017/10/egg-windhield-robbery-warning-2017.jpgรูปภาพ:https://www.hoax-slayer.net/wp-content/uploads/2017/10/egg-windhield-robbery-warning-2017.jpgรูปภาพ:https://www.hoax-slayer.net/wp-content/uploads/2017/10/egg-windhield-robbery-warning-2017.jpg

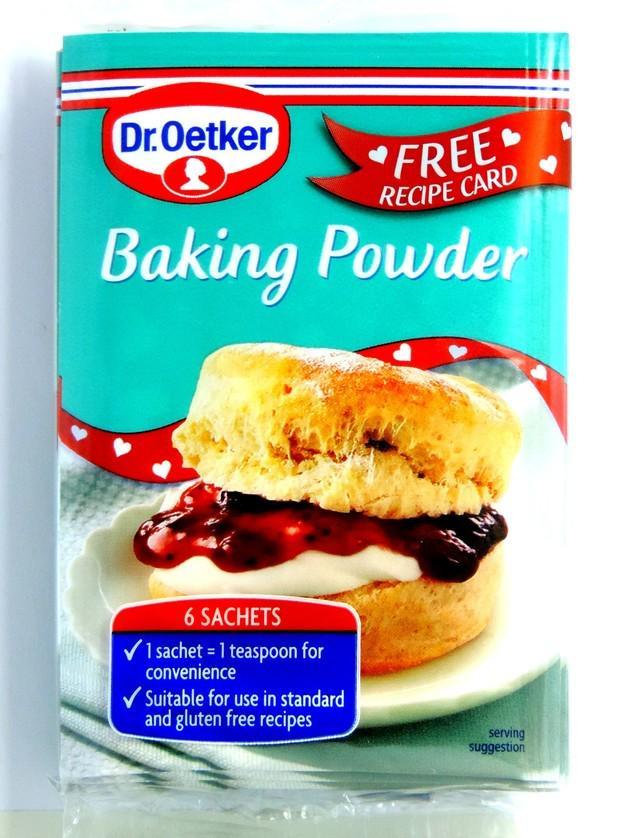
9. เบกกิ้งพาวเดอร์ 1/2 ช้อนชา

รูปภาพ:https://www.healthyfoods-online.com/media/catalog/product/cache/1/image/9df78eab33525d08d6e5fb8d27136e95/d/s/dscn6261.1517070312.jpg

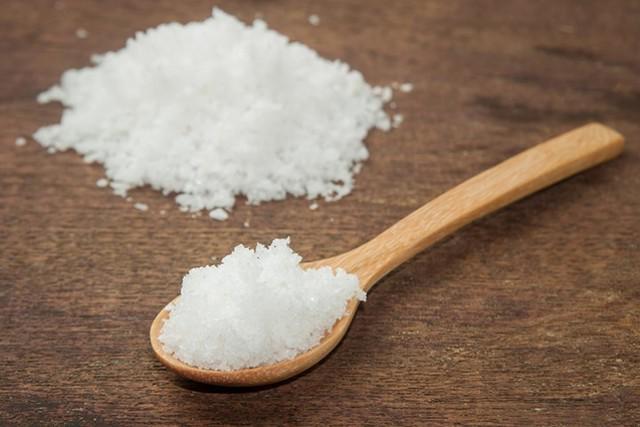
10. เกลือ 1/4 ช้อนชา

รูปภาพ:https://s.doctoroz.com/styles/720x480/s3/gallery/slides/salt-spoon-720.jpg?itok=9gSx772d

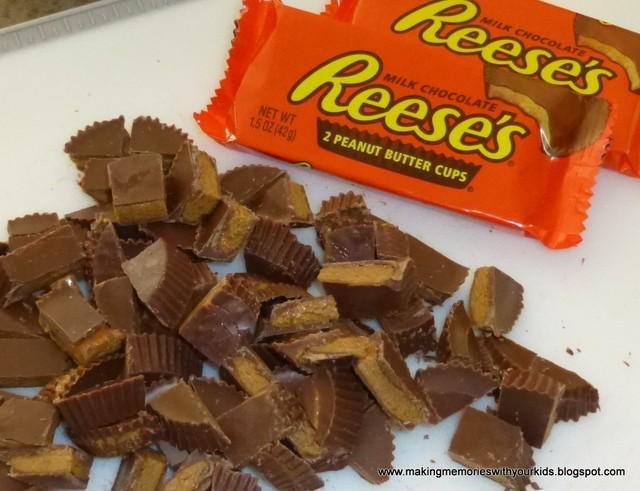
11. ขนมหวานเนยถั่วยี่ห้อ reese's 1 ถ้วยตวง

รูปภาพ:http://1.bp.blogspot.com/-h5vG0ZXAje4/UZBMMGVXU4I/AAAAAAAALOU/sDgfdwqE1Ws/s1600/reese%27s+pb+cups.JPG

ขั้นตอนการทำ

1. เปิดเตาอบที่อุณหภูมิ 350 องศาฟาเรนไฮต์

2. ใส่เนย เนยถั่ว น้ำตาลในโถปั่น ตีจนเป็นครีมนุ่ม

รูปภาพ:https://www.mysanfranciscokitchen.com/wp-content/uploads/2014/01/peanutbuttercookie-1.pngรูปภาพ:https://www.mysanfranciscokitchen.com/wp-content/uploads/2014/01/peanutbuttercookie-1.pngรูปภาพ:https://www.mysanfranciscokitchen.com/wp-content/uploads/2014/01/peanutbuttercookie-2.png

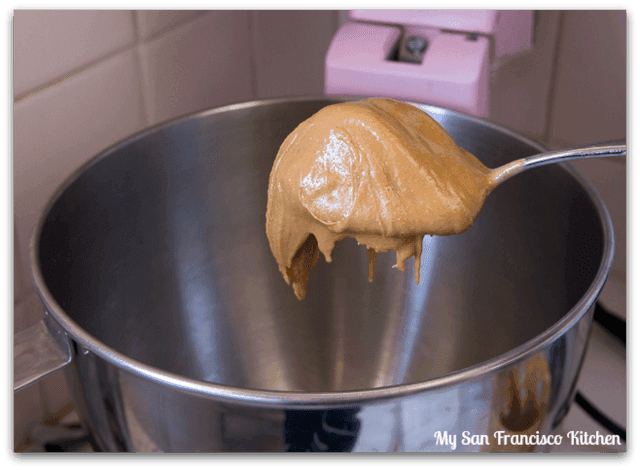
3. ตีส่วนผสมด้วยความเร็วต่ำ ในขณะที่ตีให้เติมไข่ และกลิ่นวานิลลาลงไป

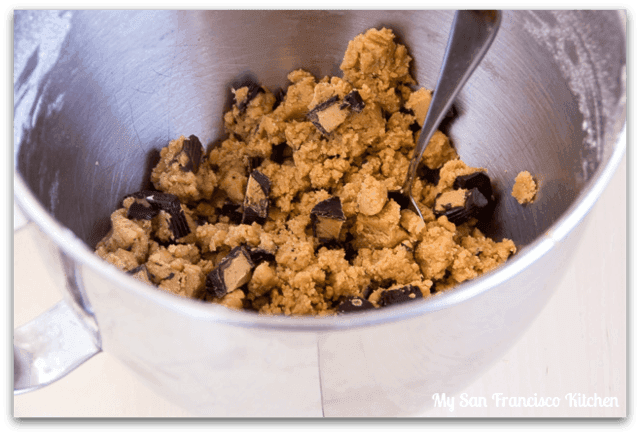
4. ในอ่างอีกใบเติมแป้ง เบกกิ้งโซดา เบกกิ้งพาวเดอร์เกลือผสมเข้าด้วยกันแล้วค่อย ๆ เทลงในอ่างผสมใบแรกที่มีเนยถั่ว5. ใส่ขนมรสเนยถั่วที่สับแล้วลงไป

รูปภาพ:https://www.mysanfranciscokitchen.com/wp-content/uploads/2014/01/peanutbuttercookie-1.pngรูปภาพ:https://www.mysanfranciscokitchen.com/wp-content/uploads/2014/01/peanutbuttercookie-1.pngรูปภาพ:https://www.mysanfranciscokitchen.com/wp-content/uploads/2014/01/peanutbuttercookie-2.png

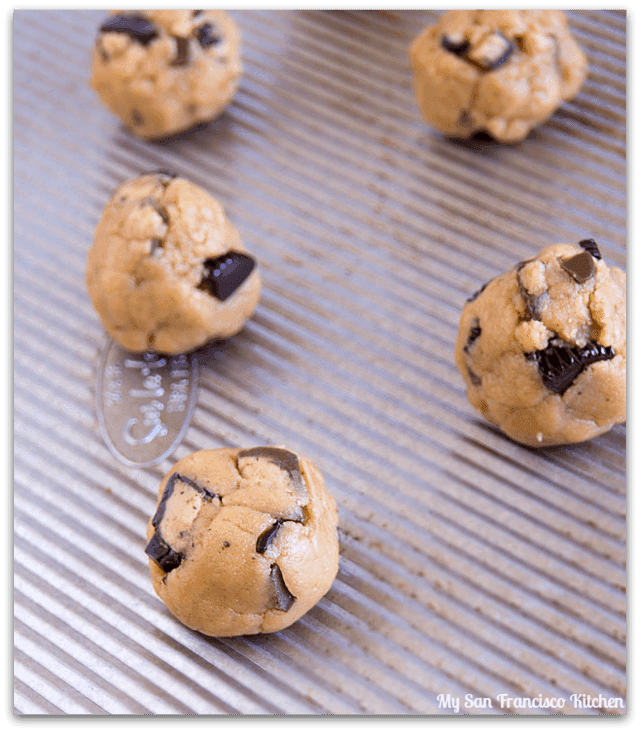
6. ปั้นเป็นก้อน ๆ นำเข้าเตาอบ อบนาน 12 นาที

รูปภาพ:https://www.mysanfranciscokitchen.com/wp-content/uploads/2014/01/peanutbuttercookie-2.pngรูปภาพ:https://www.mysanfranciscokitchen.com/wp-content/uploads/2014/01/peanutbuttercookie-2.pngรูปภาพ:https://www.mysanfranciscokitchen.com/wp-content/uploads/2014/01/peanutbuttercookie-3.pngรูปภาพ:https://www.mysanfranciscokitchen.com/wp-content/uploads/2014/01/peanutbuttercookie-3.pngรูปภาพ:https://www.mysanfranciscokitchen.com/wp-content/uploads/2014/01/peanutbuttercookies.pngรูปภาพ:https://www.mysanfranciscokitchen.com/wp-content/uploads/2014/01/peanutbuttercookie-bite.pngรูปภาพ:https://www.mysanfranciscokitchen.com/wp-content/uploads/2014/01/peanutbuttercookie-3.png

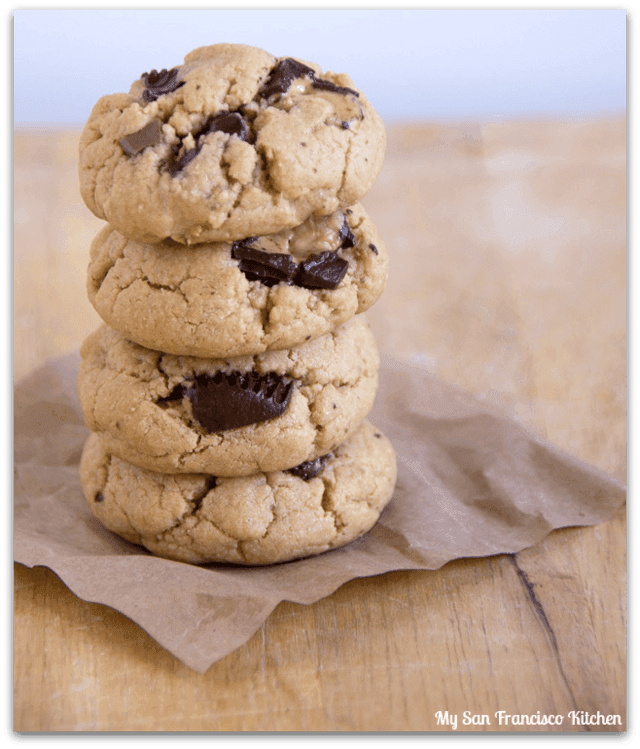
อบแล้วขนมจะฟูสวย เคี้ยวนุ่มแบบนี้ค่ะเหมาะกับกินคู่น้ำชายามบ่ายมาก ๆ เลย

ลองทำดูนะคะเอาใจคนรักเนยถั่วเลยล่ะ ลาไปก่อนค่ะ

รูปภาพ:https://www.mysanfranciscokitchen.com/wp-content/uploads/2014/01/peanutbuttercookies.pngรูปภาพ:https://www.mysanfranciscokitchen.com/wp-content/uploads/2014/01/peanutbuttercookie-bite.pngรูปภาพ:https://www.mysanfranciscokitchen.com/wp-content/uploads/2014/01/peanutbuttercookie-3.pngรูปภาพ:https://www.mysanfranciscokitchen.com/wp-content/uploads/2014/01/peanutbuttercookies.png